
Hi friends,
Jhumkas without quilling mould and quilling tool - wondering how. Here is my tutorial. Anyone can learn it easily.
 Step 1:
 Step 2:
 Step 3:
 Step 4:


Arranged on the top to get a crown effect.


Jhumkas without quilling mould and quilling tool - wondering how. Here is my tutorial. Anyone can learn it easily.

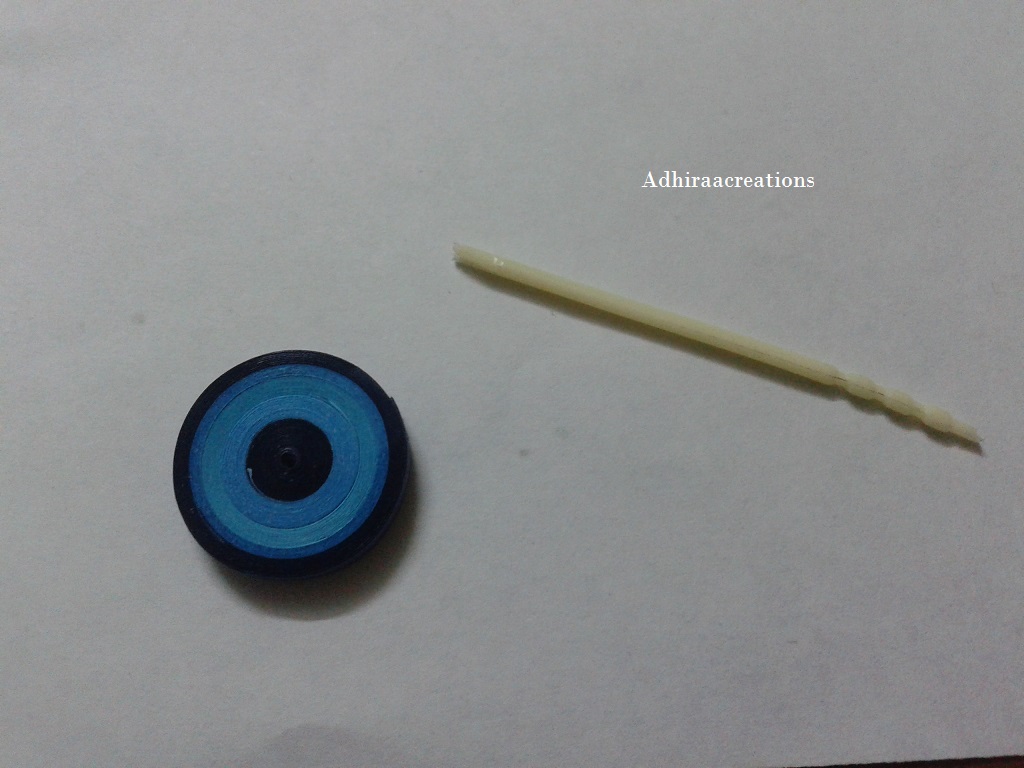
Choose the colours you want, I have taken blue shades.

Make a tight coil with dark colour in the middle and outer. I have used toothpick to these coils.
Take the tight coil and gently press it from one side and hold it as shown in the picture below.

Now rotate it in the same position and press the edge(dark blue shade) while rotating the coil, you will get the jhumka easily.


Step 5:
Now coat a layer of glue to it and allow it to dry, you can connect it directly to the hooks or attach any design to its top. it can be either round, square,etc. I have chosen to fix three teardrops over its top. Now repeat the above process for the other earring and pendant.


Step 6:
Now coat with varnish to make it water proof and glossy. Allow it to dry. Arrange pearls to it as you wish to make it more beautiful.
Step 7:
Open ear wire loop by twisting loop open, not pulling loop apart. This maintains the original shape of the loop, and makes it easier to get a tight closure.
Hang earring body off ear wire loop. Twist loop shut tightly. Repeat for other earring.
Step 8:
For neckwear, take the spring wire and insert the nylon thread/beading wire through it and attach the clasp/screw endpiece to it. Take the pendant and connect to the wire with the help of jump o rings.
Now your set is ready to wear and enjoy!

Material used:
Quilling strips, nylon wire & varnish, Fevivol MR - Itsy Bitsy
Beads, earring findings, sprin wire - local shop
For any queries or help, pls mail me hrshylaa(at)gmail(dot)com.
Thanks for visiting

No comments:
Post a Comment